samhorne.github.io
Laser Maze Hardware Documentation
Epic immersive experience featuring Python control, a custom iOS app, MQTT triggered videos and lighting, and a realtime leaderboard.
Links
- Hardware Setup (THIS PAGE)
- Code written for this project
- Maze Control (Python)
- iOS App (Swift)
- MQTT to Core MIDI (Python)
- MQTT Video Trigger (Processing)
- Leaderboard (Processing)
Parts
| Quality | Item |
|---|---|
| 1 | Raspberry Pi with SD Card |
| 1 | Screw Terminal Hat |
| 1 | 5V Power Supply |
| 1 | NEMA 5-15 Cable Pigtail |
| 3 | 8 channel Transistor Array |
| 100 pins total | .1" pitch screw terminals |
| 24 | Laser Modules |
| 1 | 32 channel Analog to Digital Converter |
| 24 | Photoresistor |
| 1 | 10kΩ resistors |
| 1 | Emergency Stop Button |
| 48 | Barrel Jack Plugs (Male) |
| 48 | Barrel Jack Plugs (Female) |
| 1 | 100M 20 AWG wire (4 conductor) |
| 4 | 1ft DIN Rail |
| 16 | Phoenix-Style Terminal Block (4 slot) |
| 50 | Phoenix-Style Terminal Block (2 slot) |
| 1 pack | Press Fit Terminal Block Jumpers |
| 2 | DIN Mount RJ45 Breakout |
| 1 | Cat5 Cable |
| 1 | Ferrules and Ferrule crimper |
| 6 | DIN Rail PCB Mount |
| Scrap Wood (to build laser pan/tilt brackets, can be purchased from Home Depot, etc) | |
| 24 | Plastic Food Container (for sensor housing, can be purchased at Dollar Tree, etc) |
| Diffused Plastic Wrap |
Lasers
Each laser module is constructed with a pan/tilt bracket made from scrap wood. Barrel jack connectors make connection very quick.
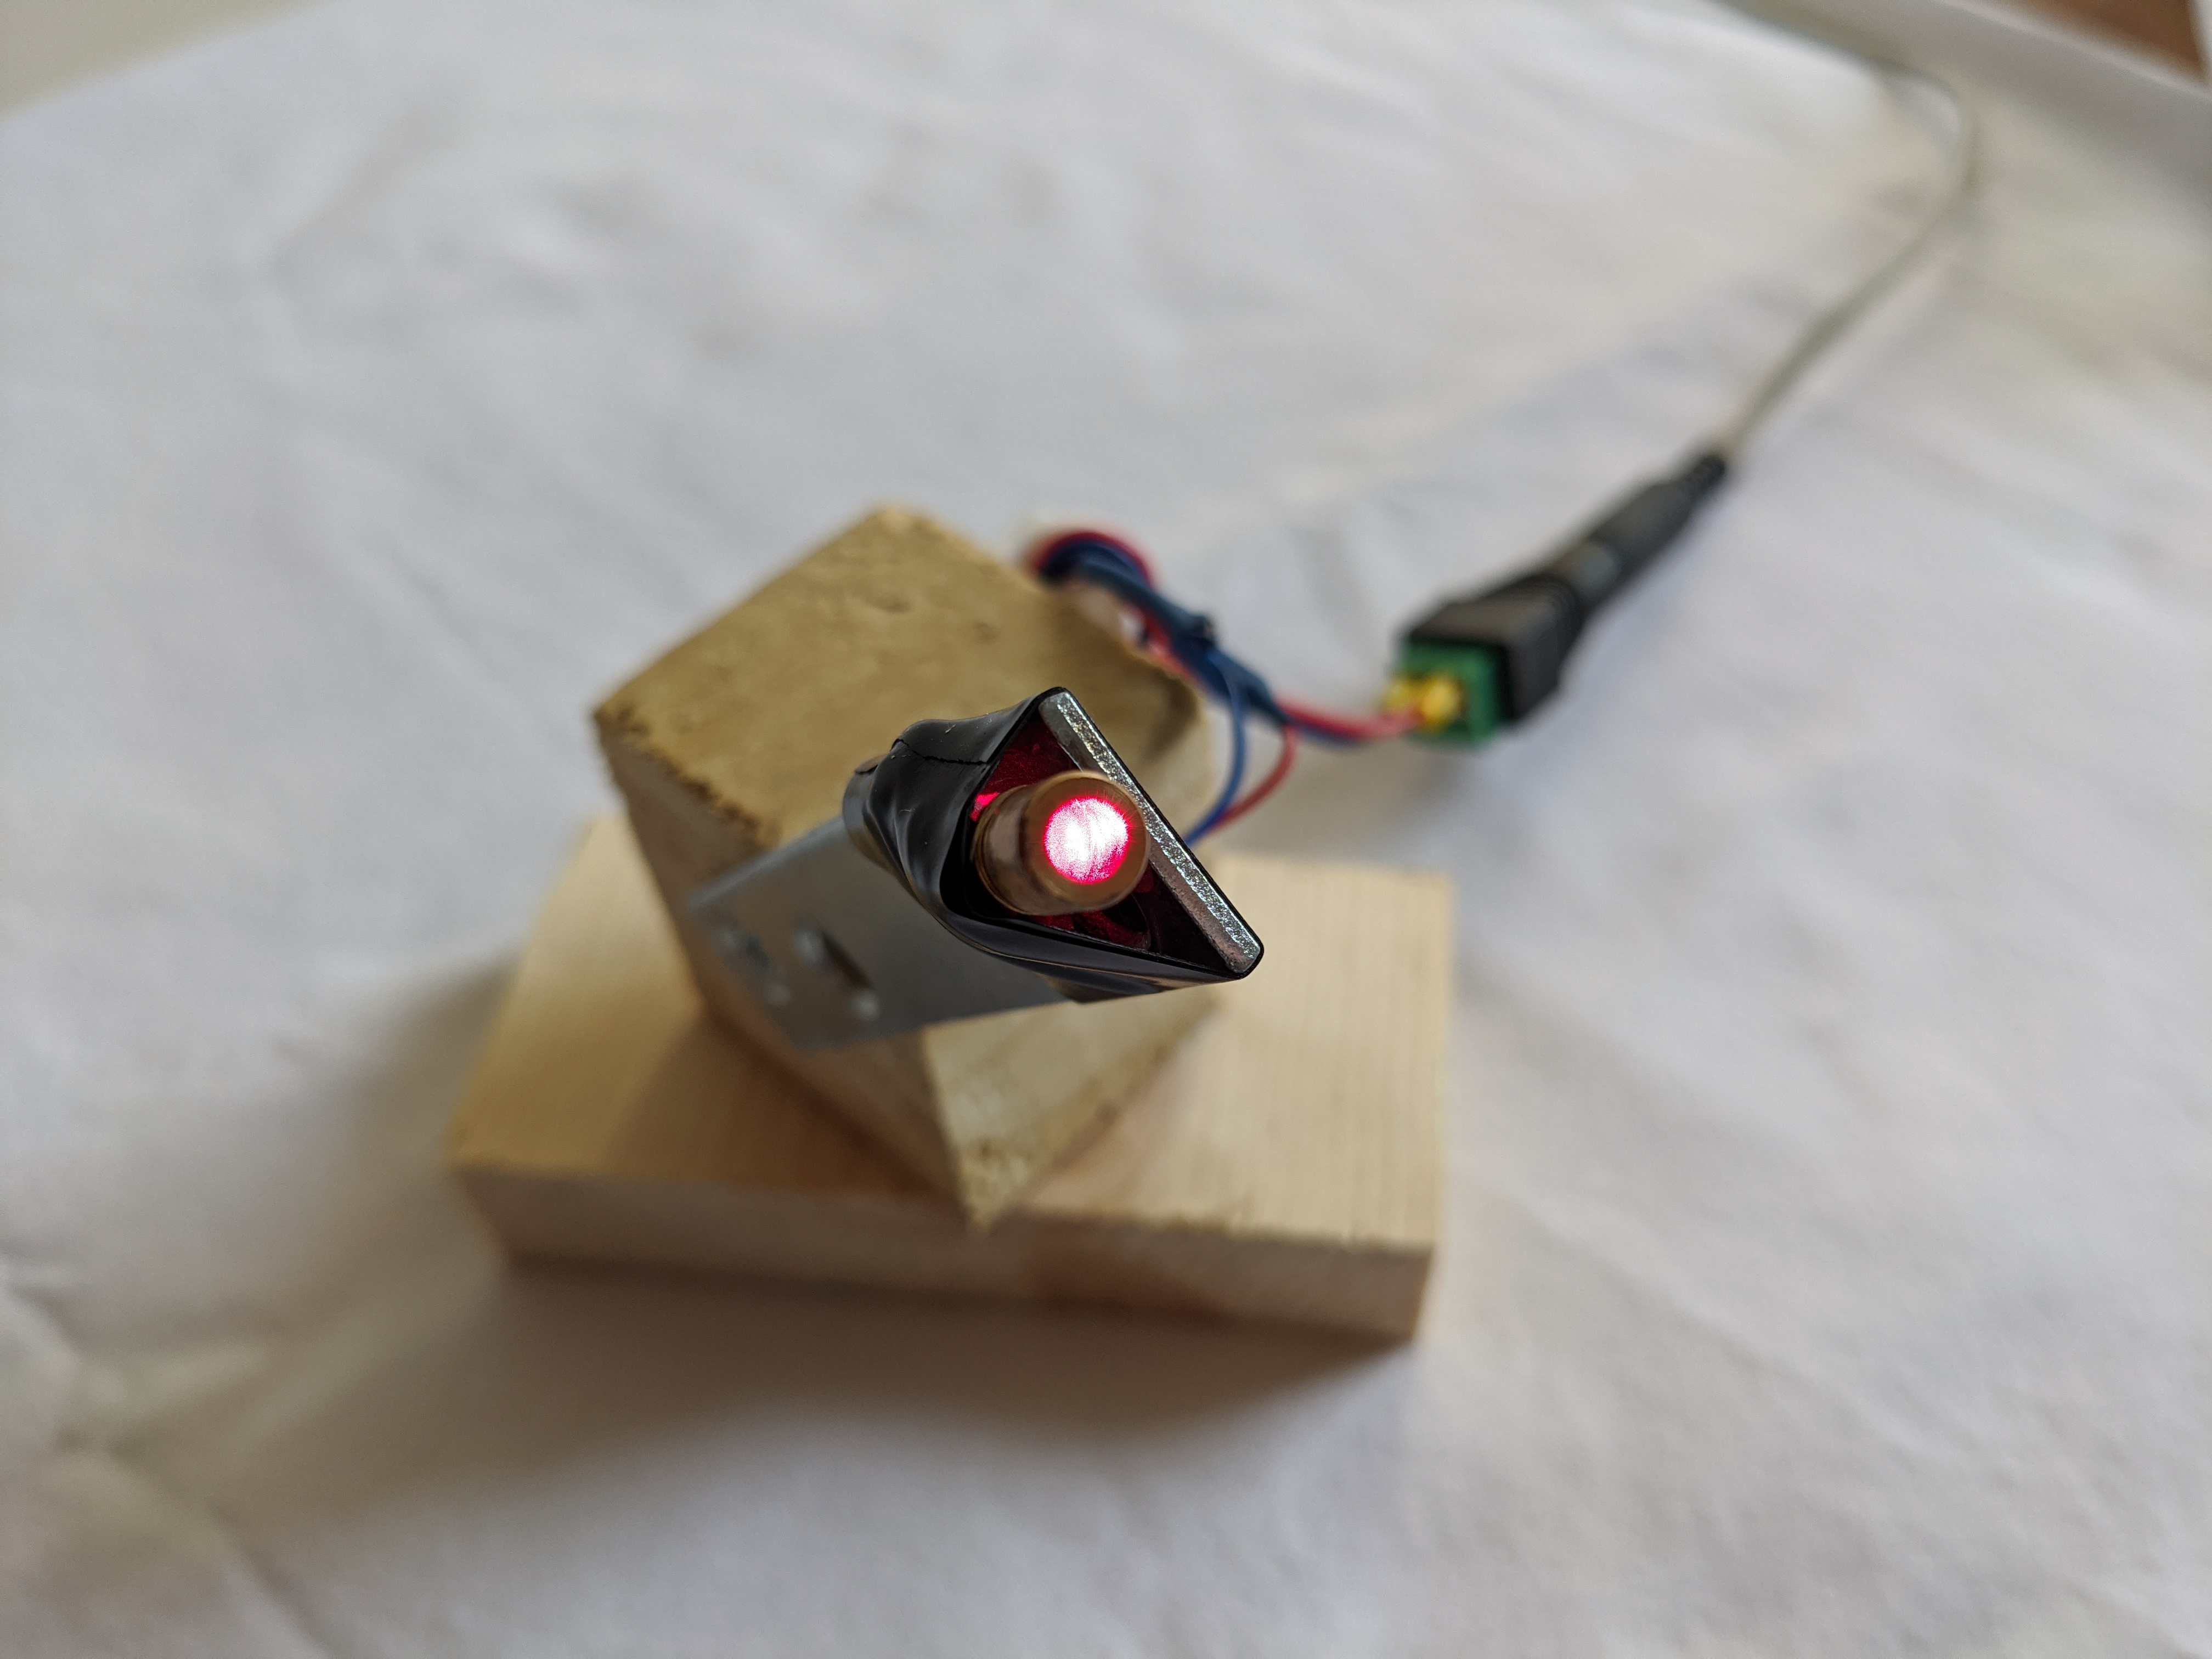
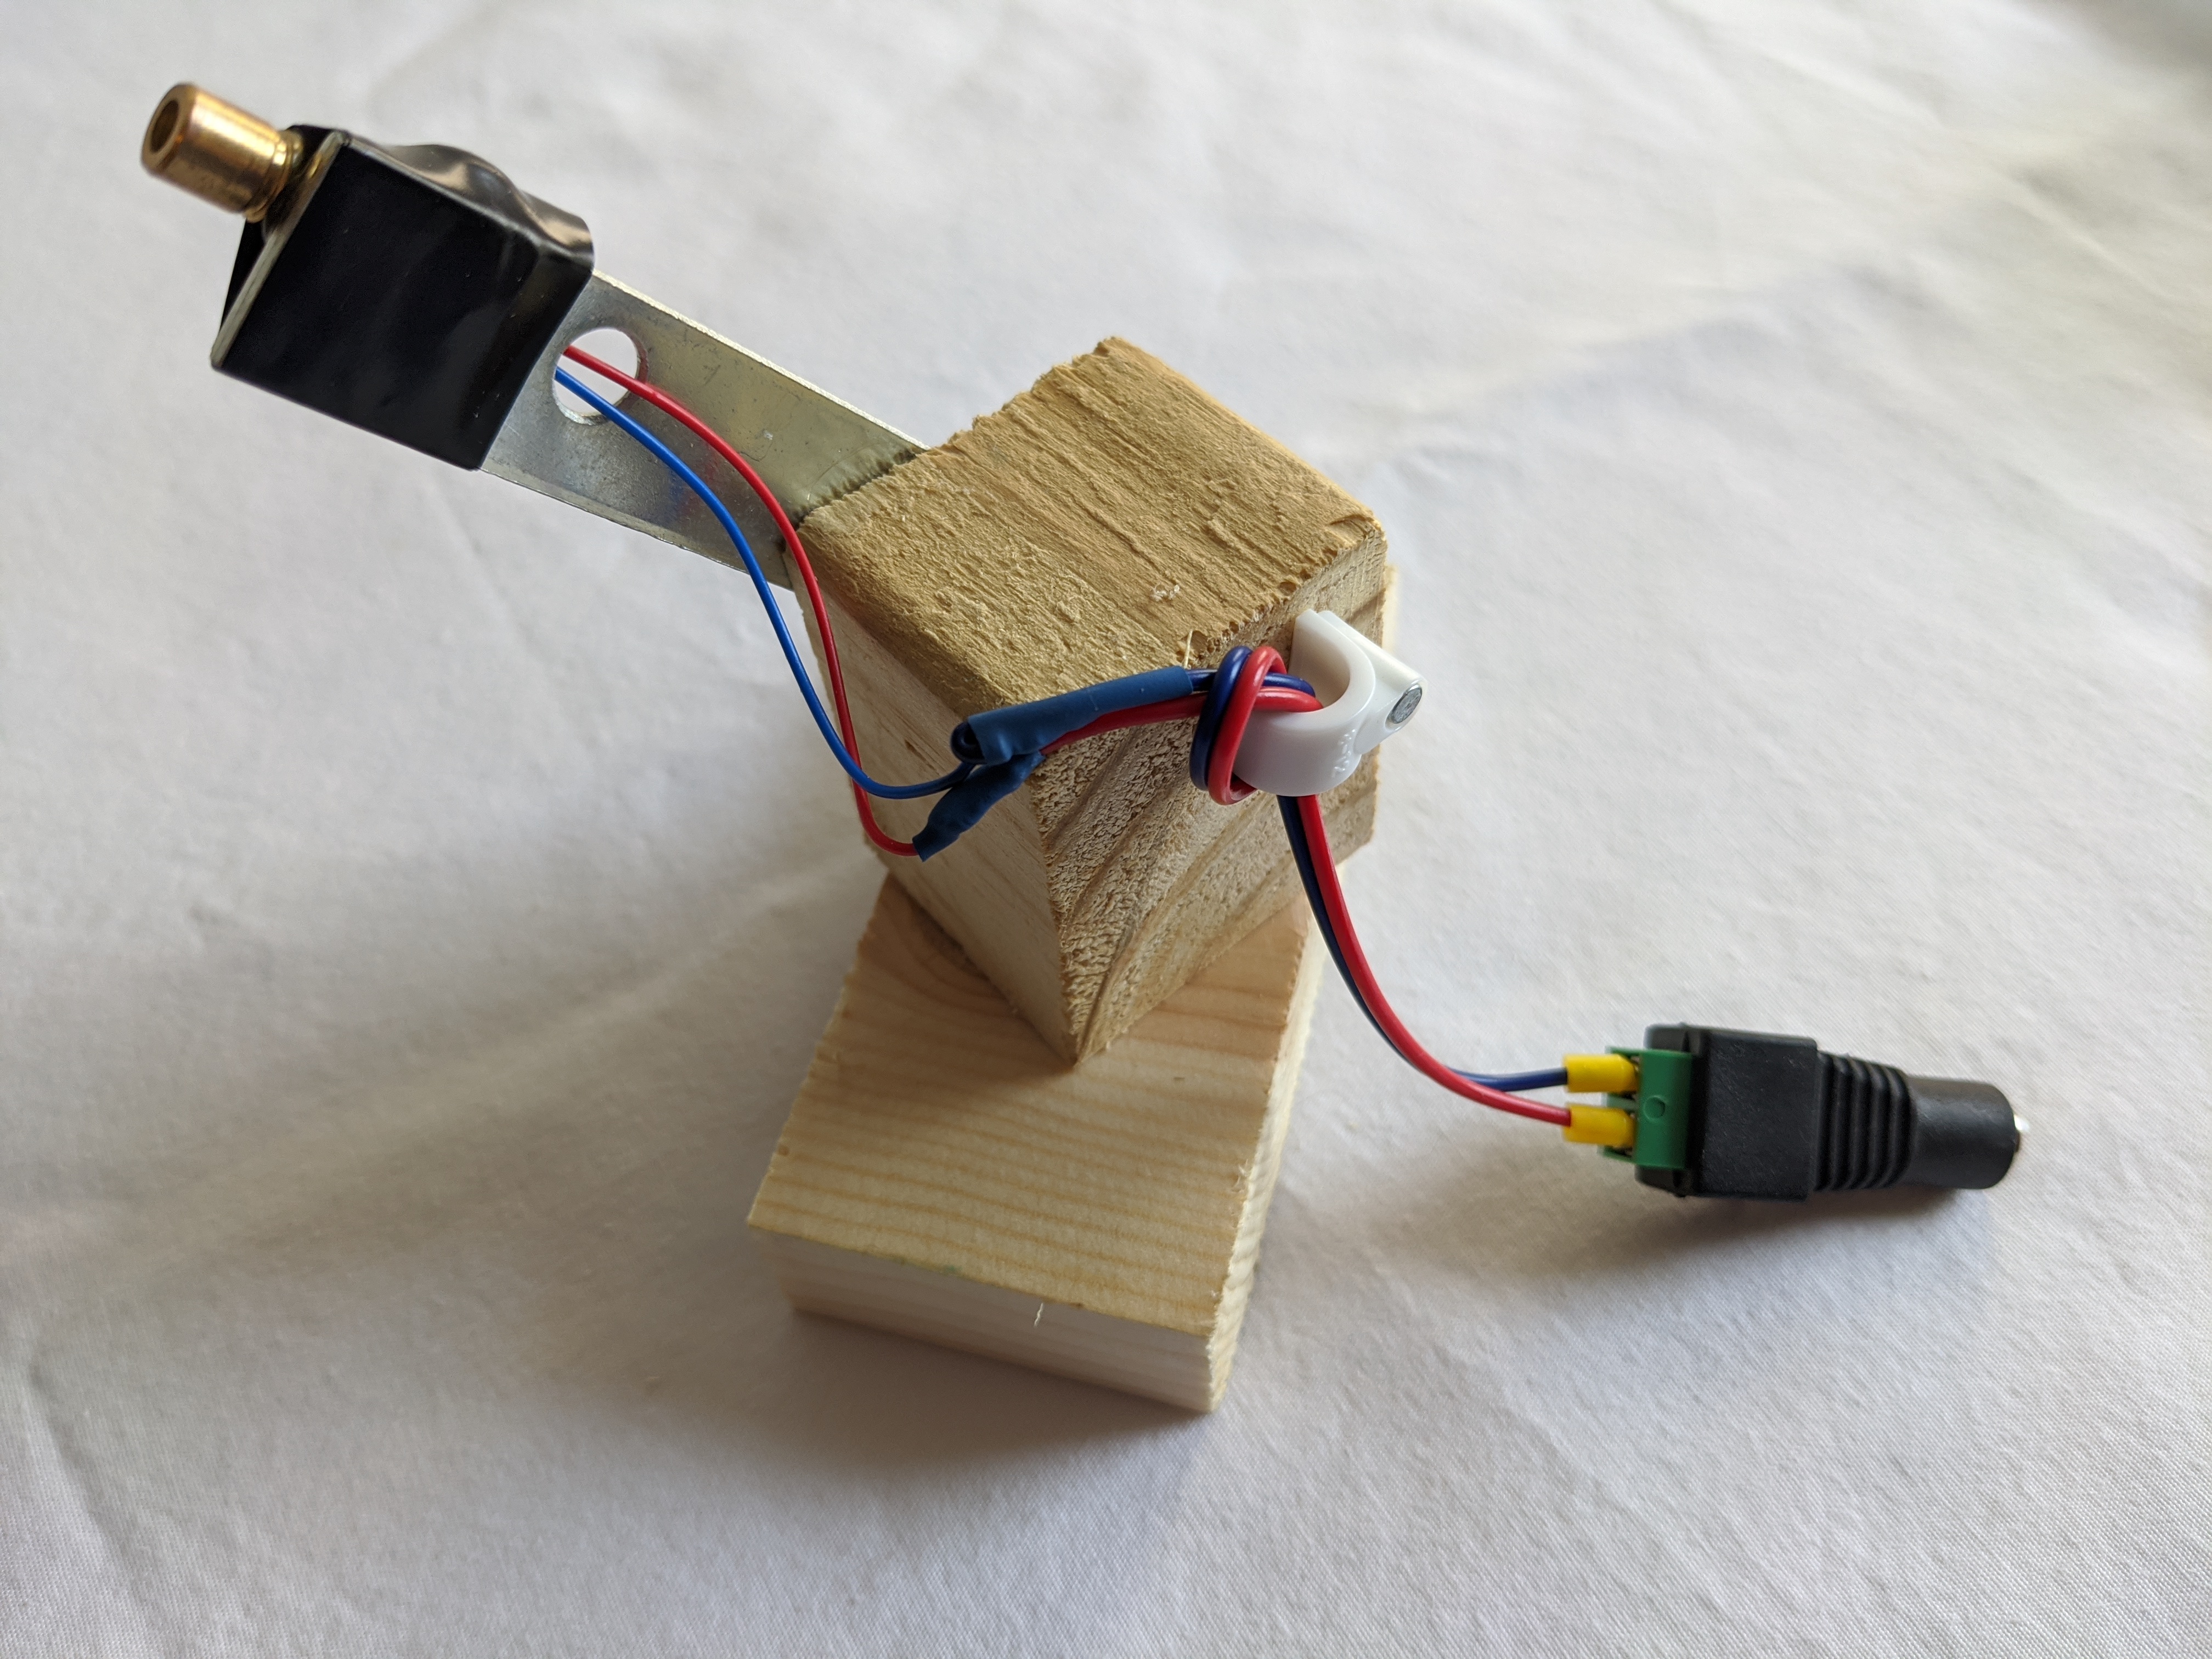
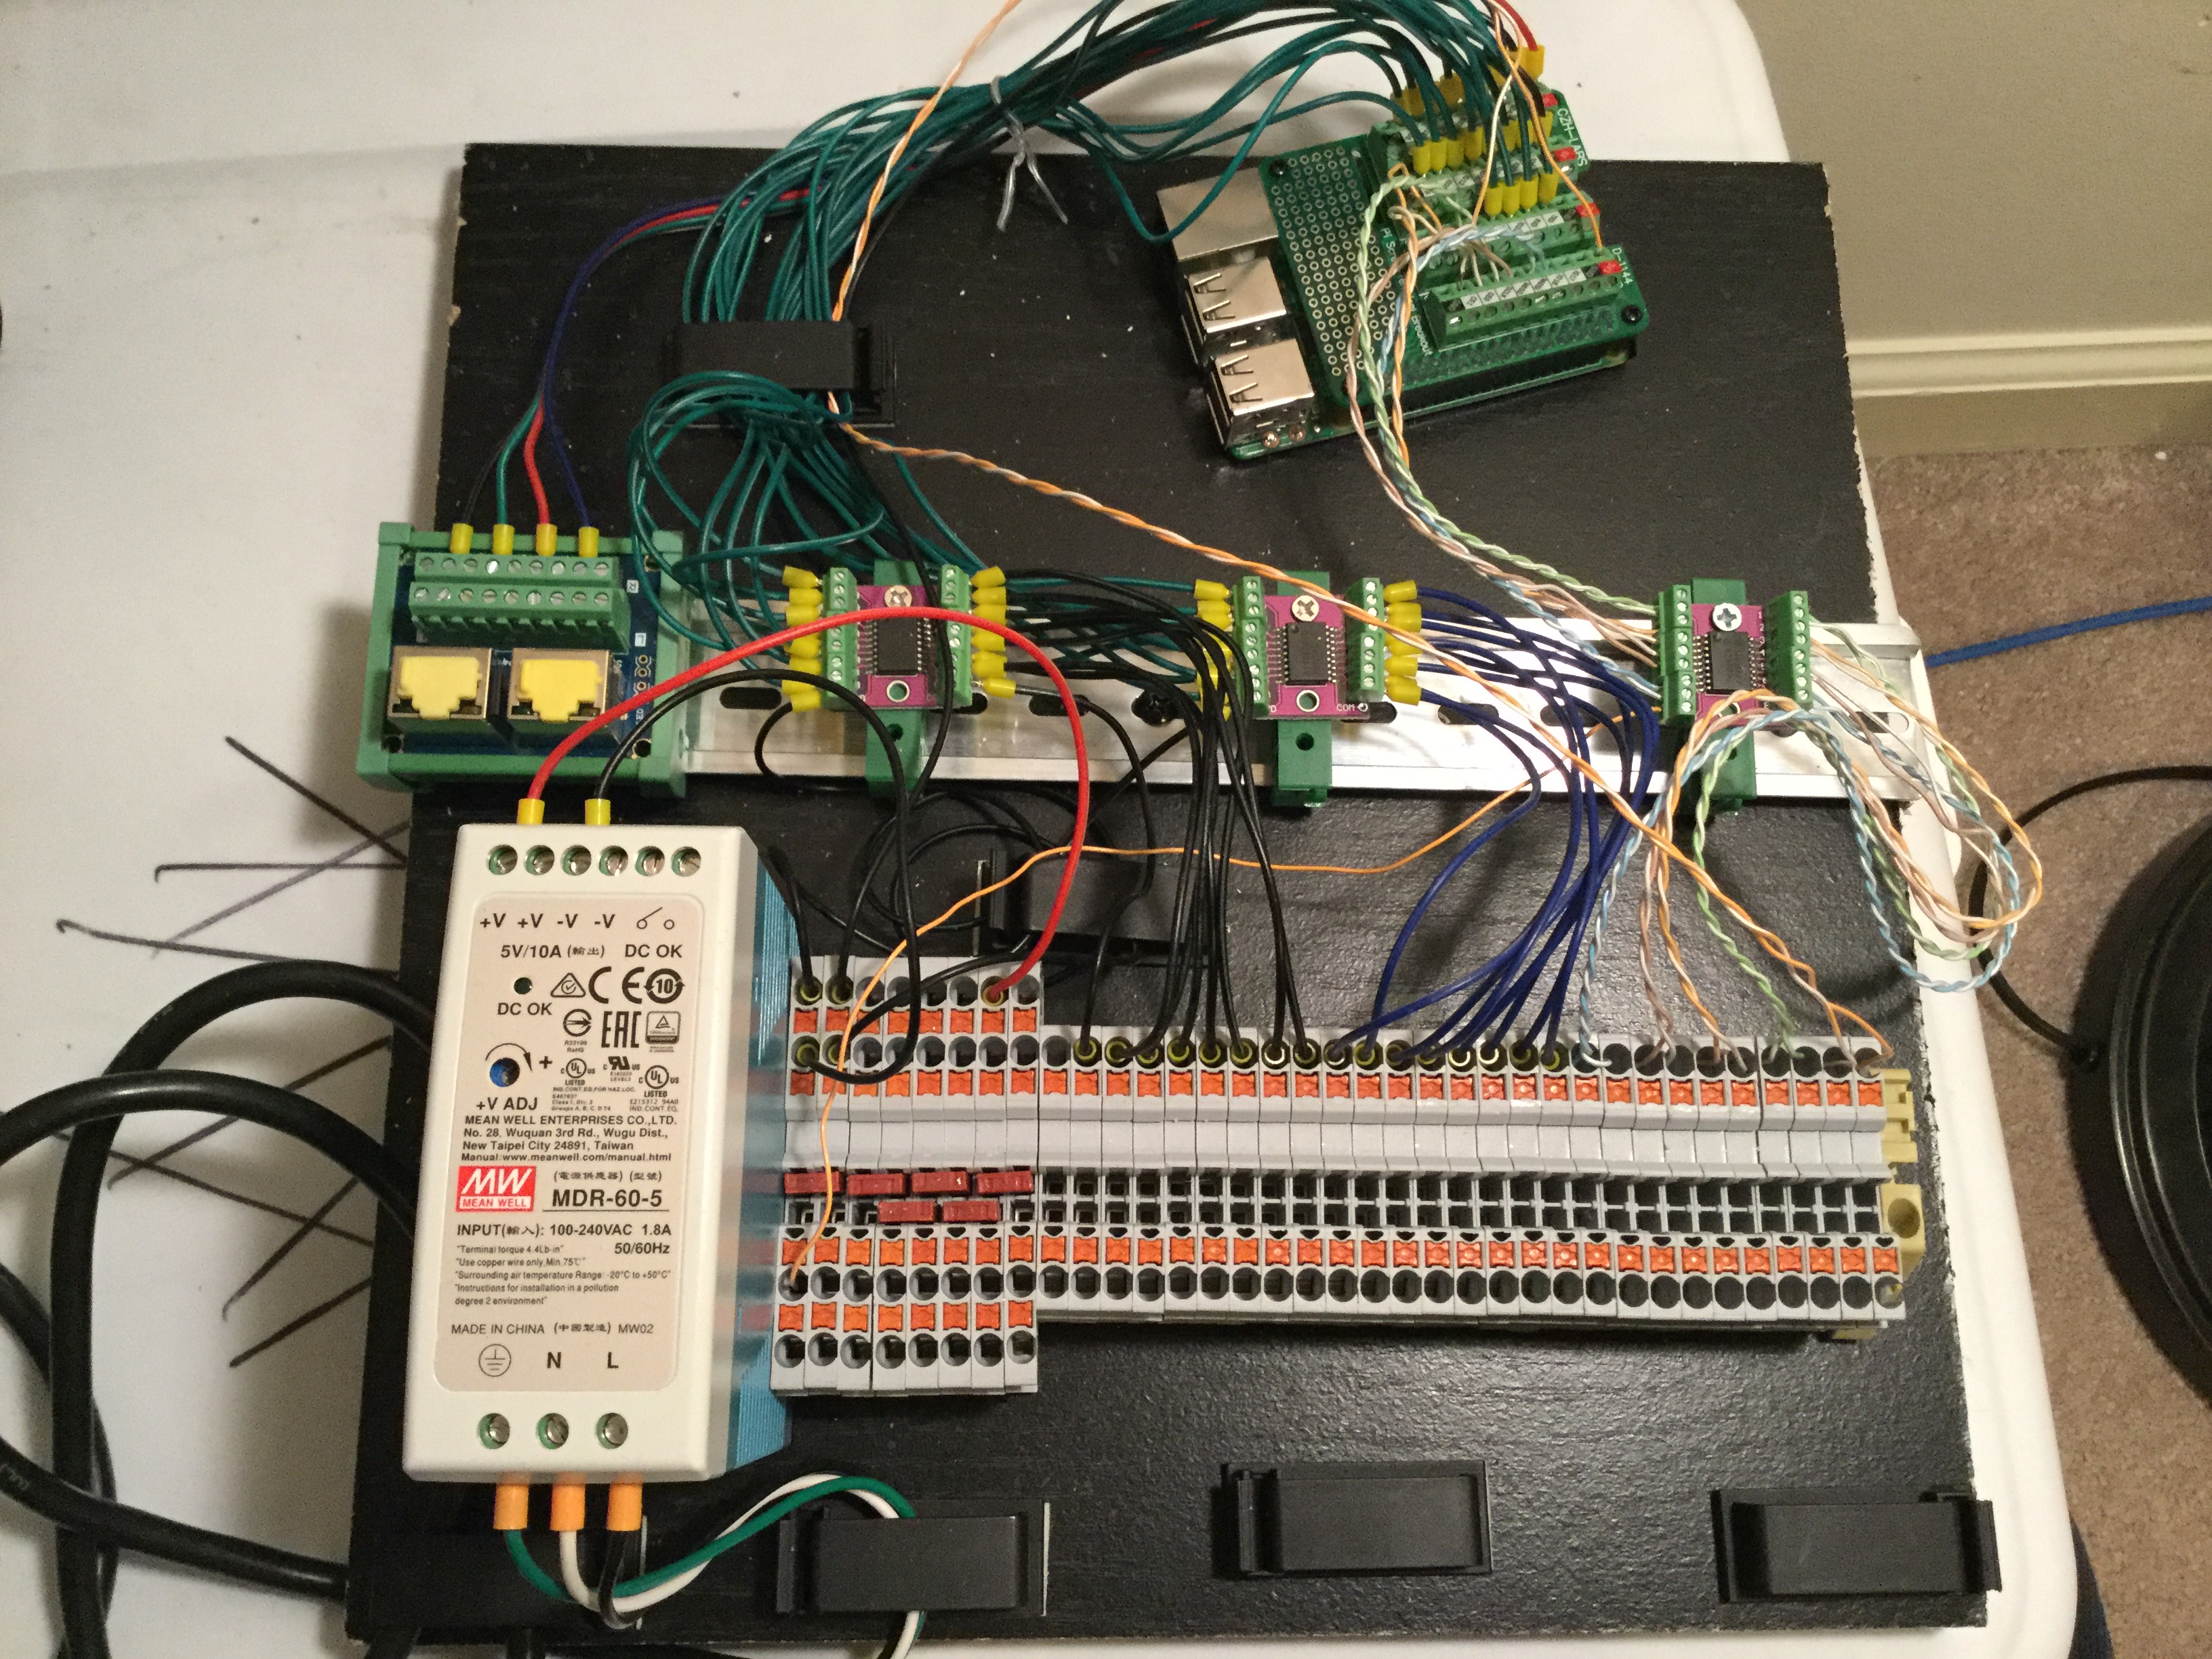
Since 24 laser modules draw more current than a Raspberry Pi can handle and since they run at 5V instead of 3.3V, transistor arrays are used to offload this power from the Pi to the power supply. Each pin on the Pi triggers an individual transistor on the array with minimal current draw.
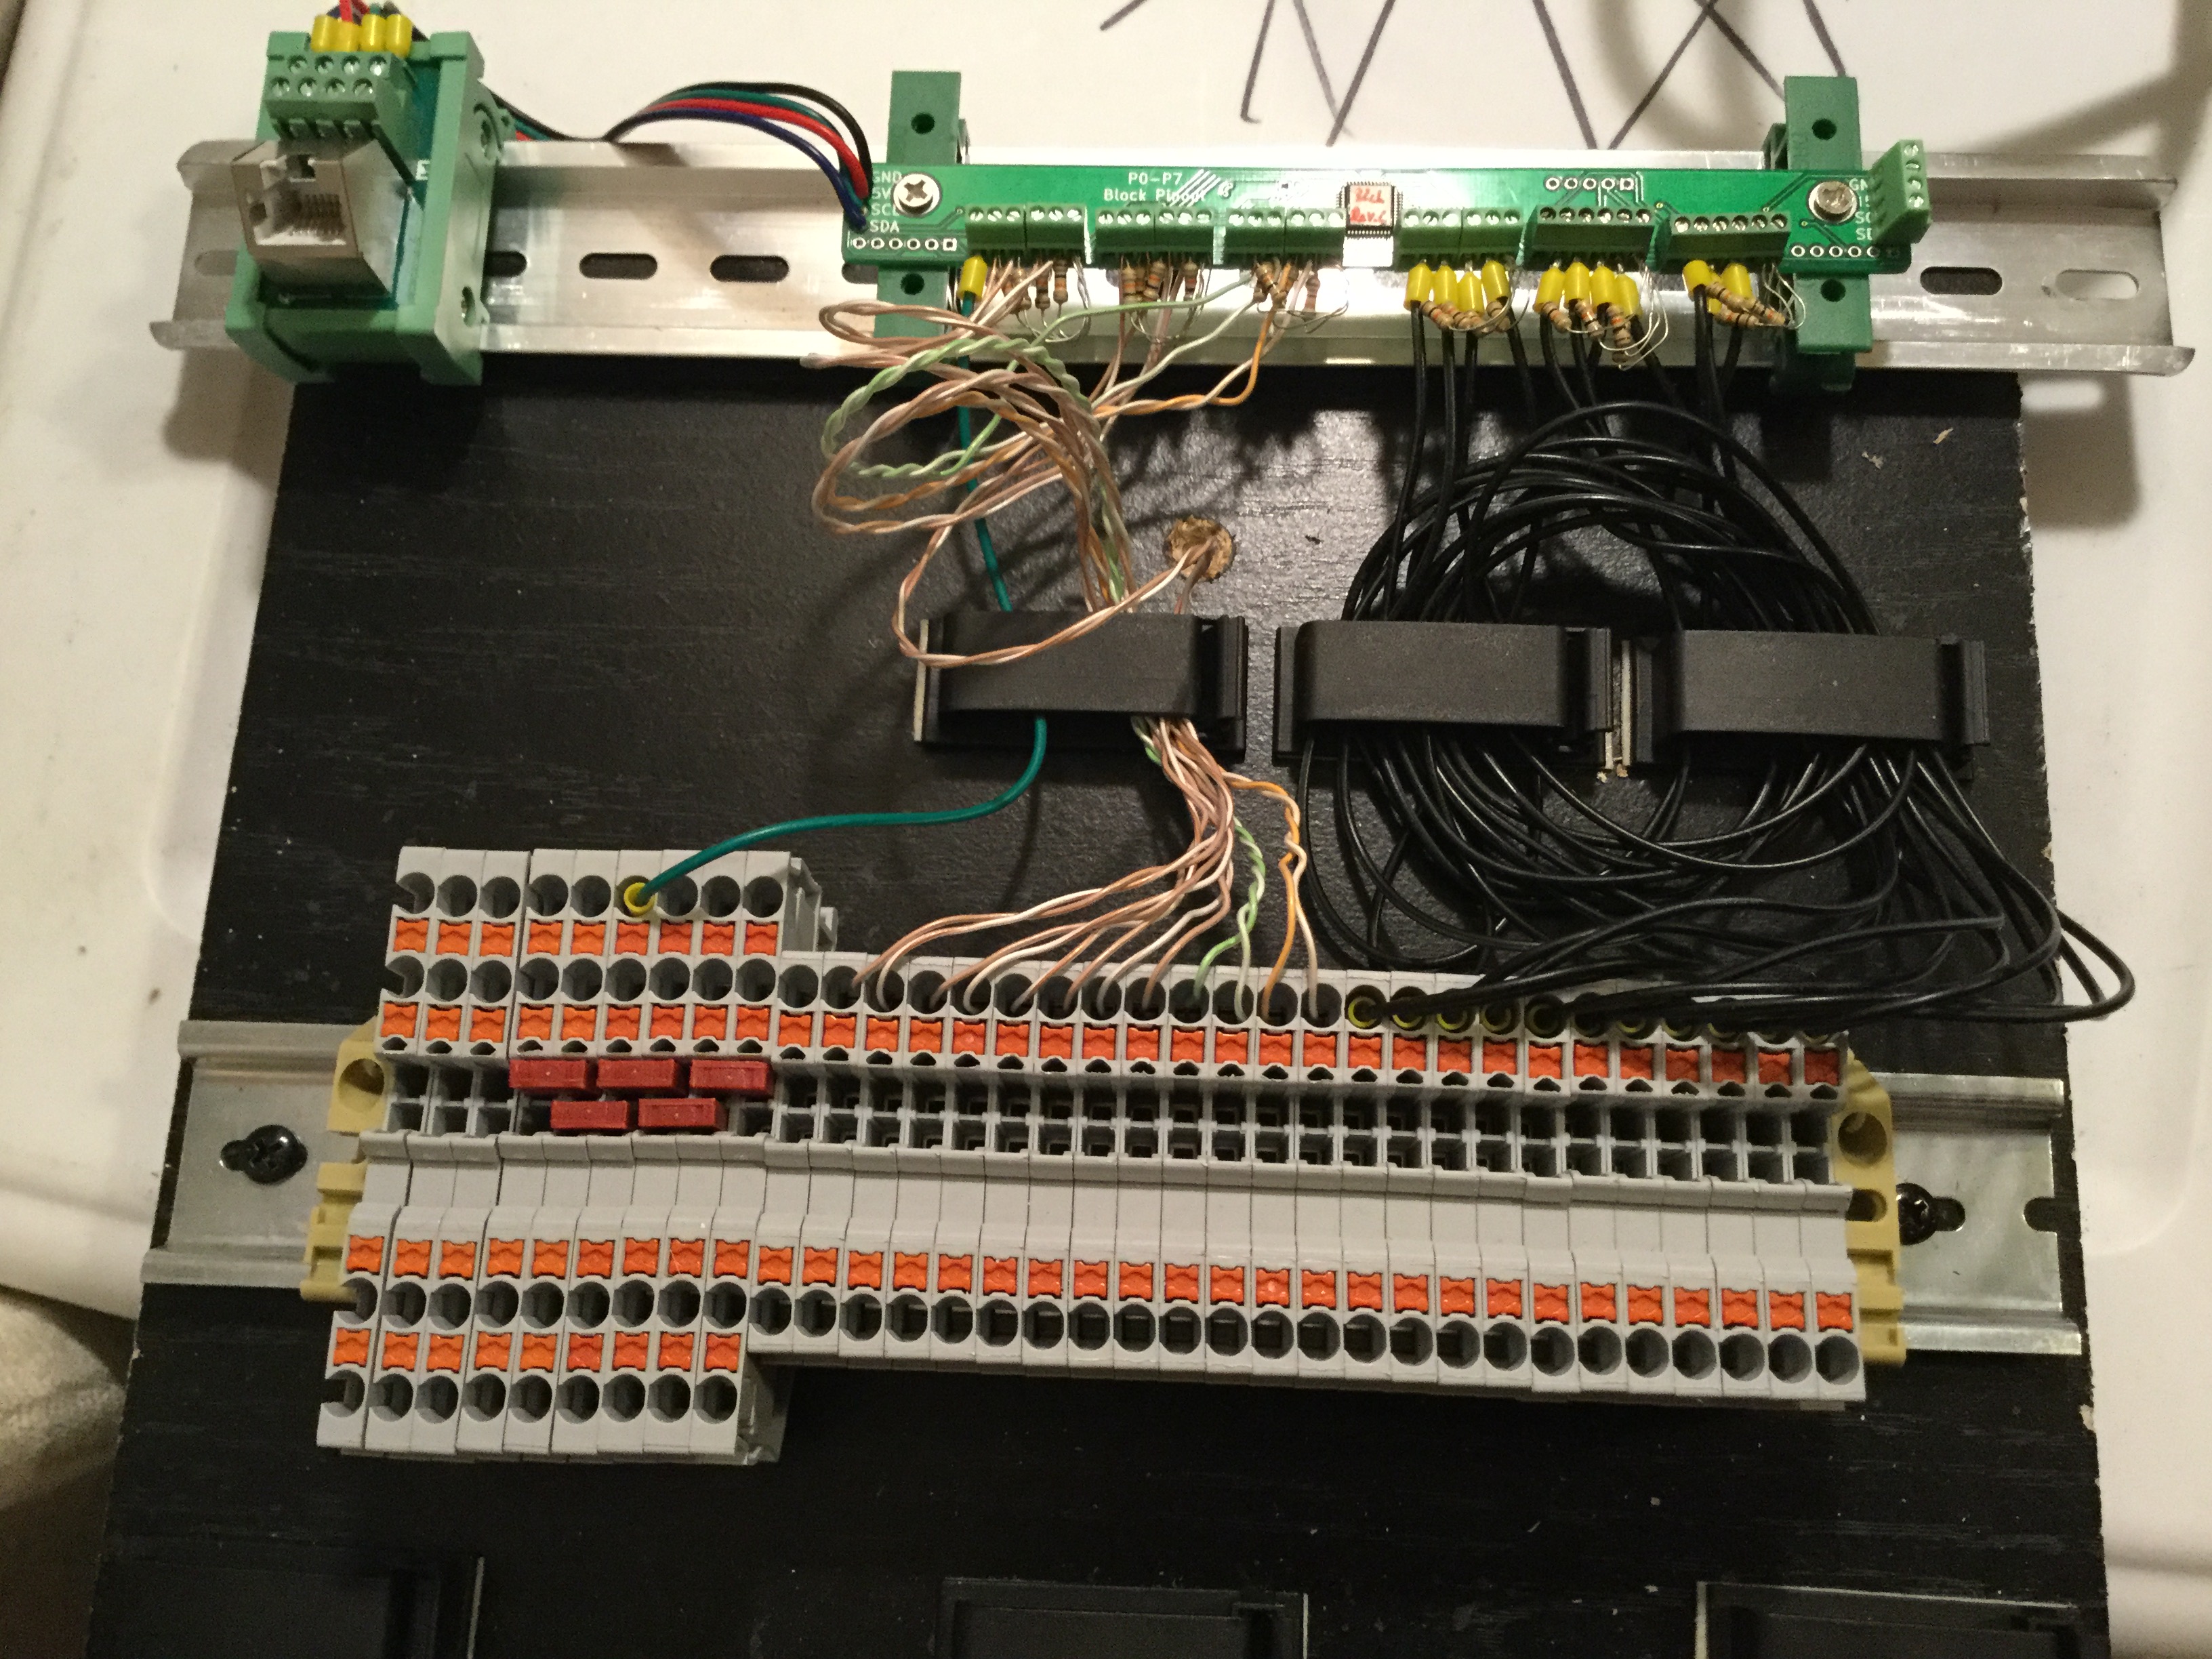
Components are mounted to a DIN rail for rugged and reliable performance.
Sensors
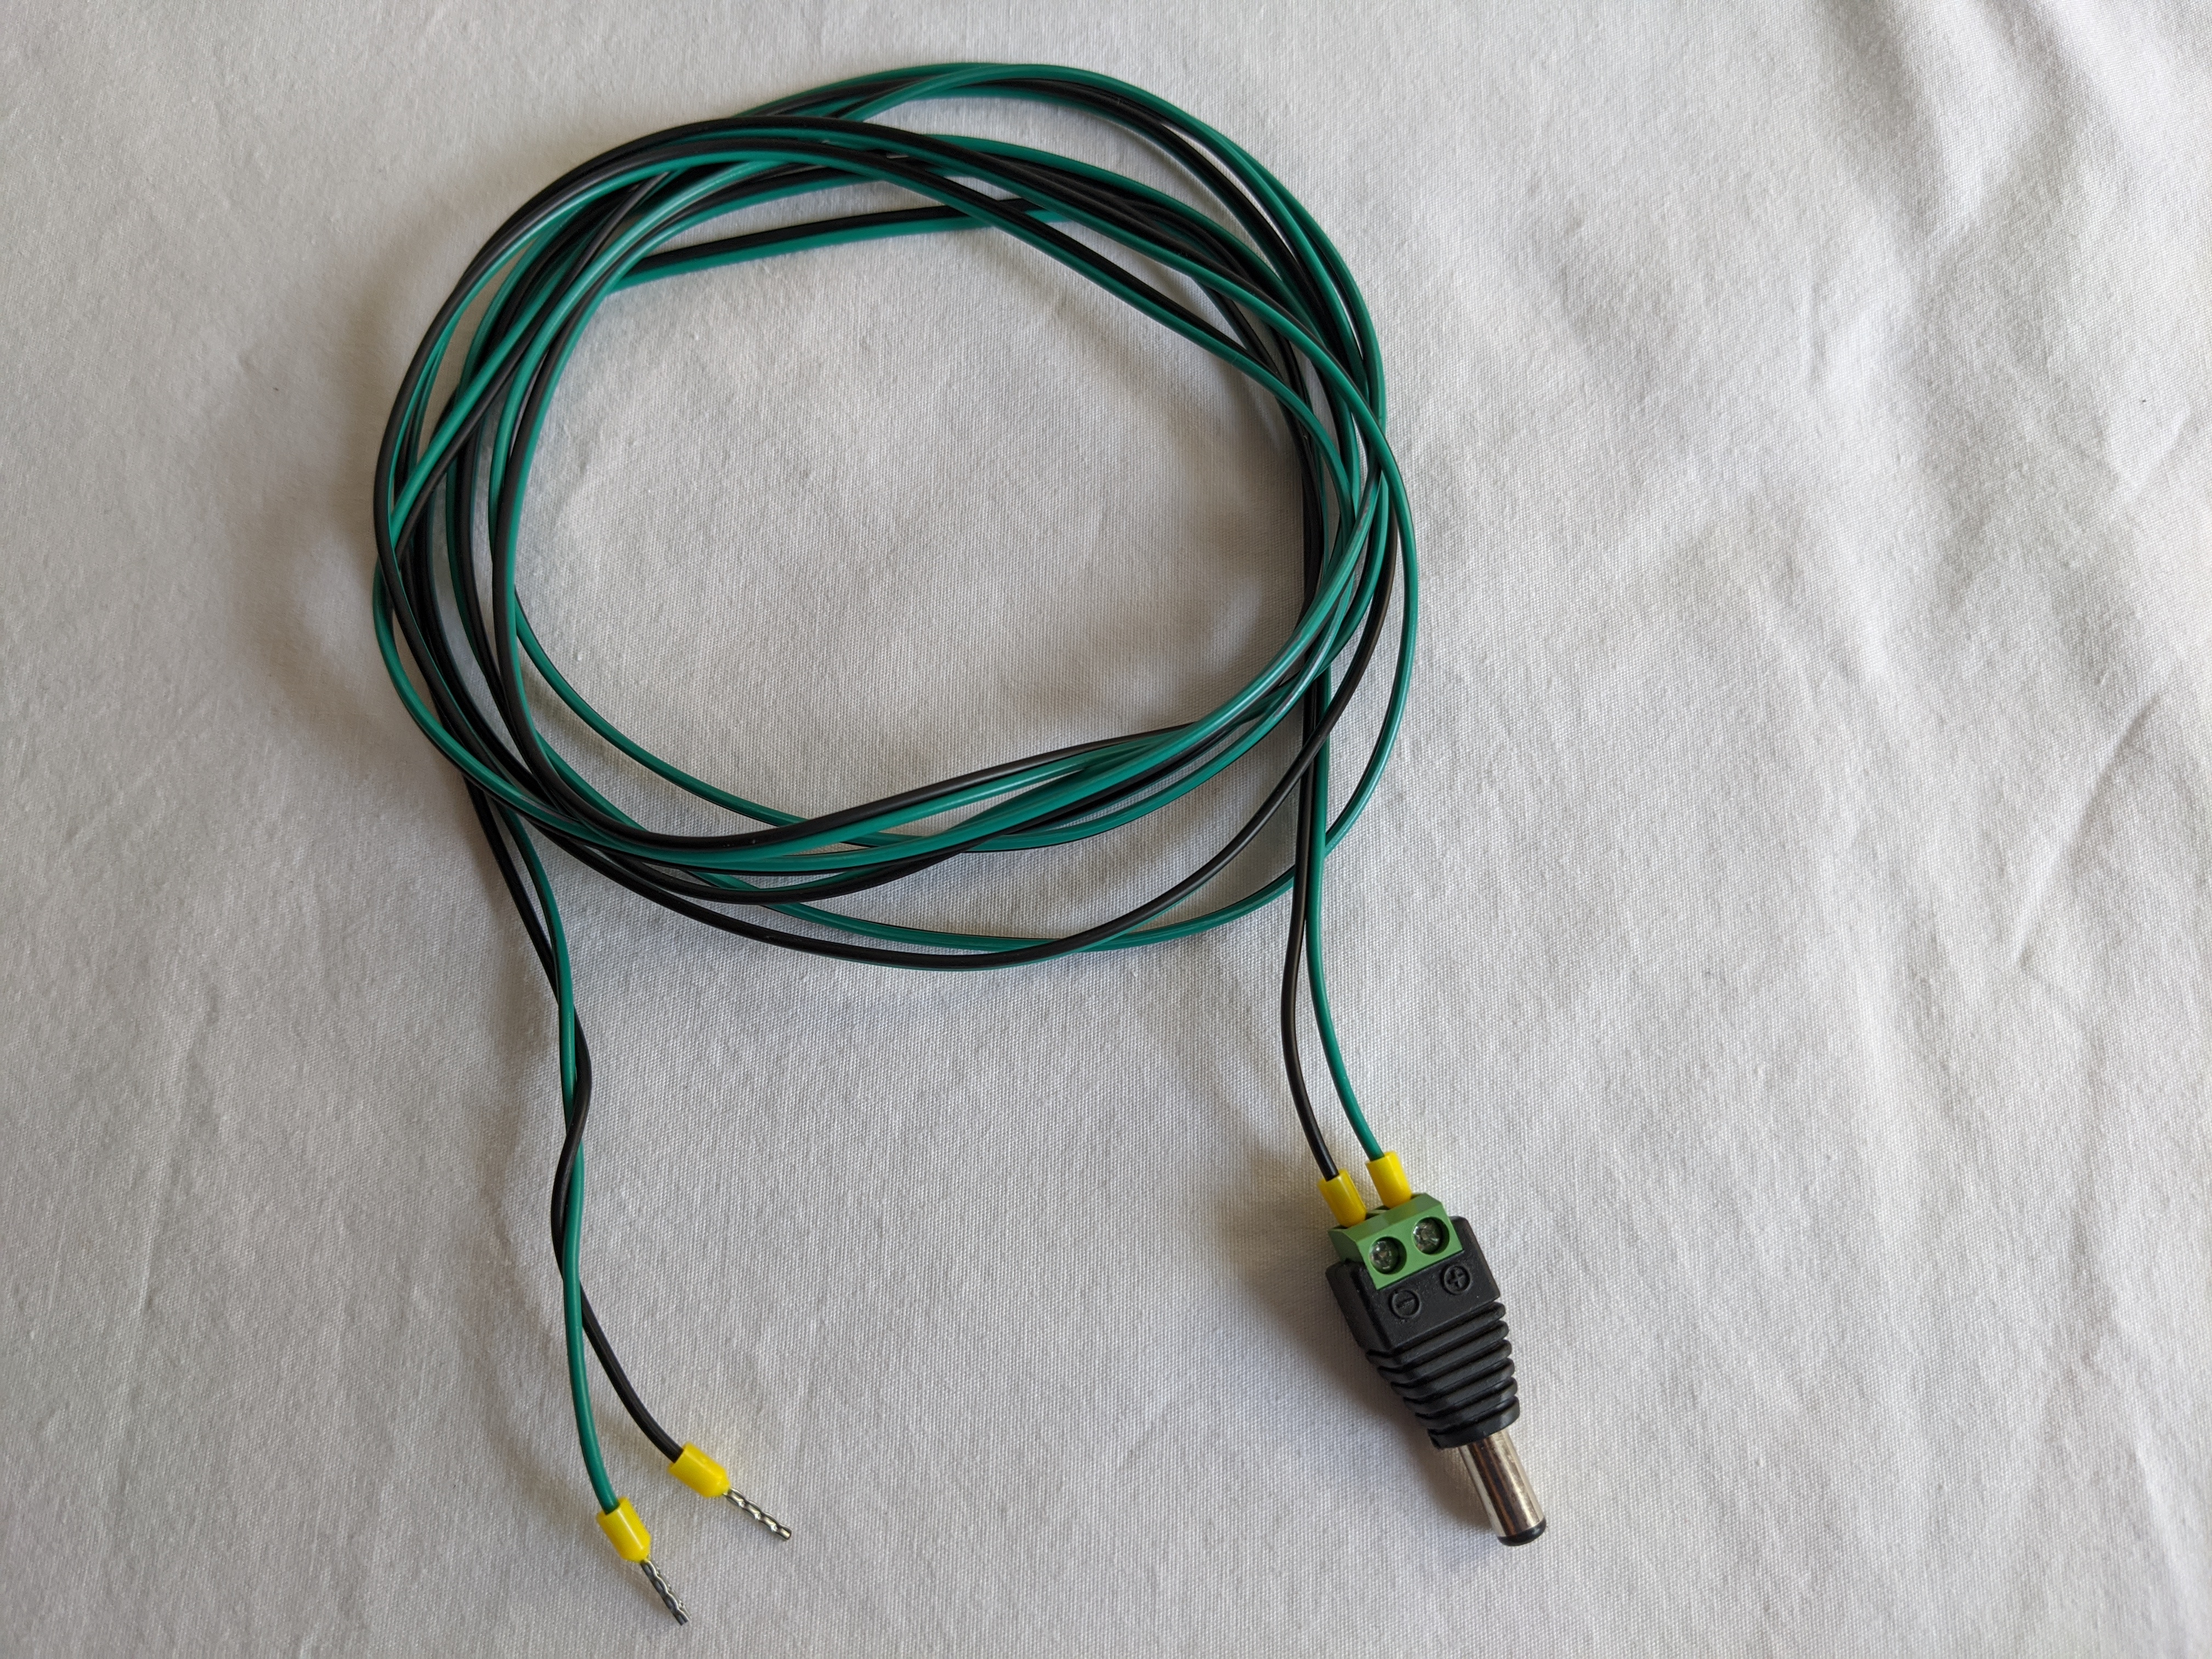
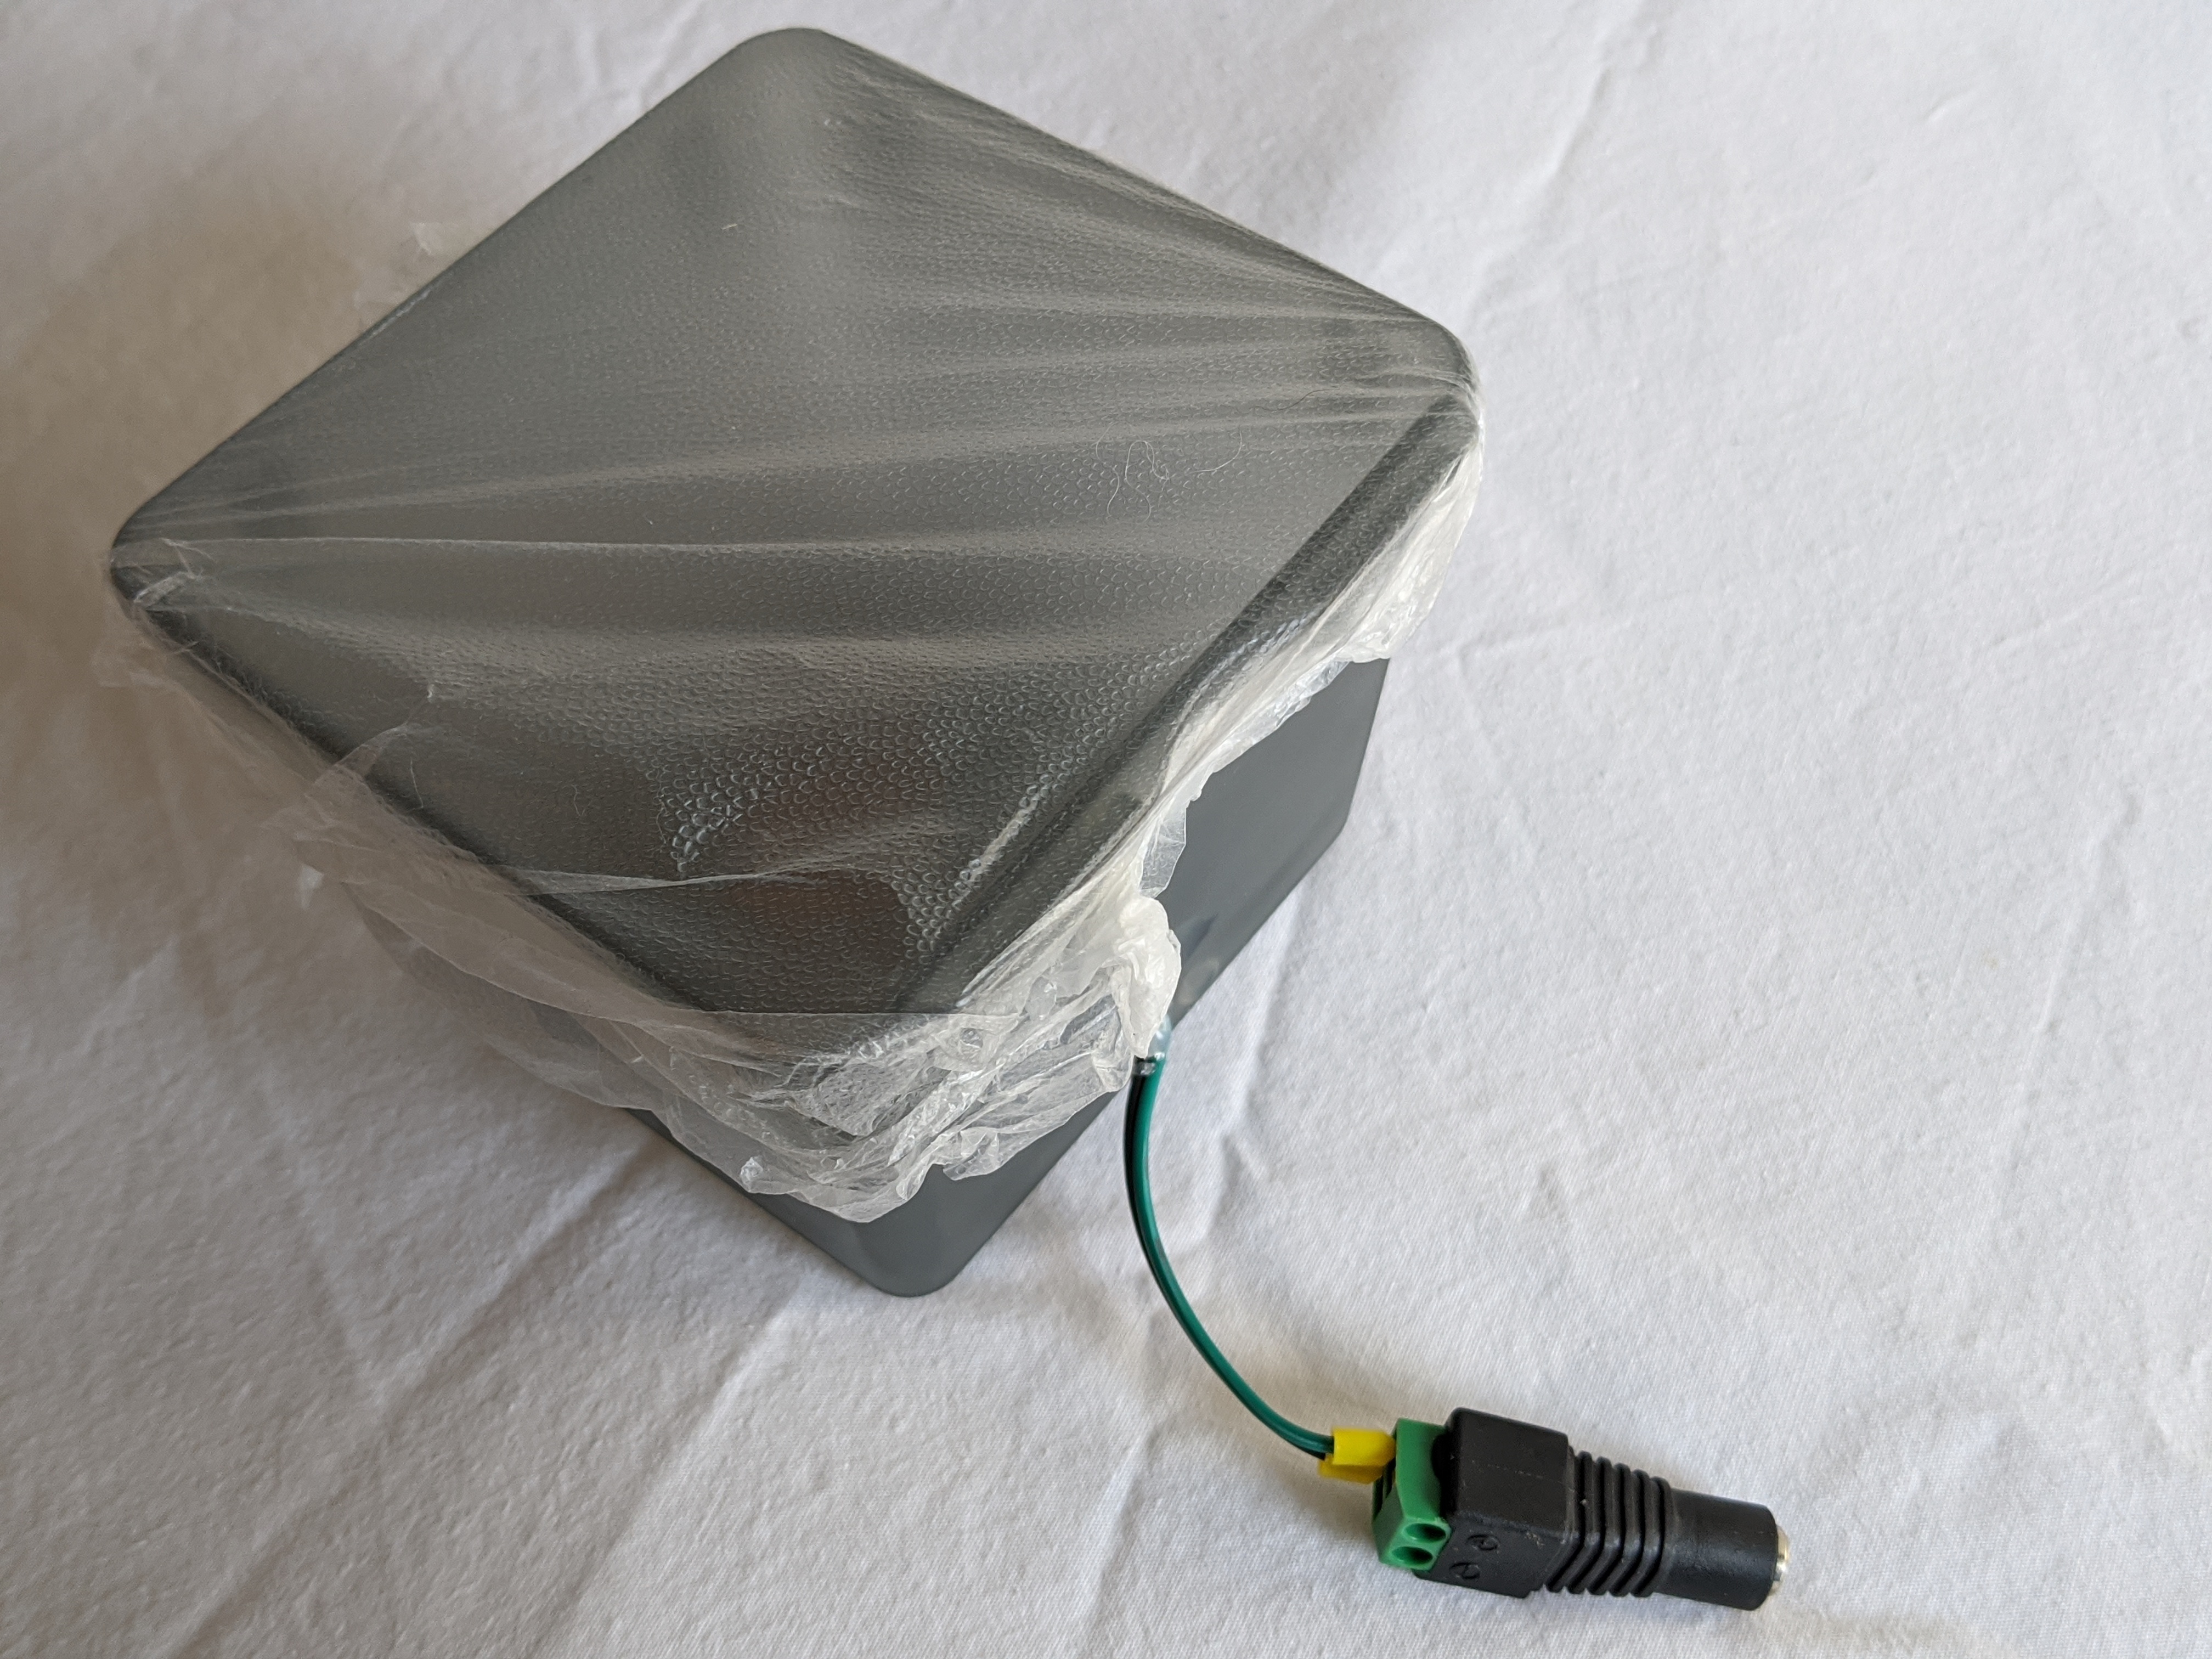
Raspberry Pi does not have an Analog to Digital Converter (ADC) built in. This means that reading analog sensors is not possible without an external ADC. This project uses a 32 channel I2C ADC to read each sensor individually. Each ADC input has a 10kΩ resistor in parallel to ground for voltage division. Pairing the ADC with RJ45 breakouts means all sensors can be mounted on an opposite wall, with a single CAT5 cable connected back to the Pi. The individual sensor housings are constructed by soldering a photoresistor to a small protoboard, with leads connected to a barrel jack connector outside the food container. The protoboard is hot glued in place for strain relief. Diffused plastic wrap is not required, however, covering the opening of the food container with this material will difuse the light from the laser, allowing the sensor to detect the laser even when the beam is not perfectly centered on the photoresistor.

Lesson Learned: I2C has distance limitations! My first attempt using a 100 ft cable failed miserably. Be sure to research the distance limitations before using a long cable, or incorporate an I2C extender.
Button
Placing a large emergency stop button at the end of the maze allows participants to "win" the maze and deactivate the lasers. The button is wired through a barrel jack connector to a Raspberry Pi pin.

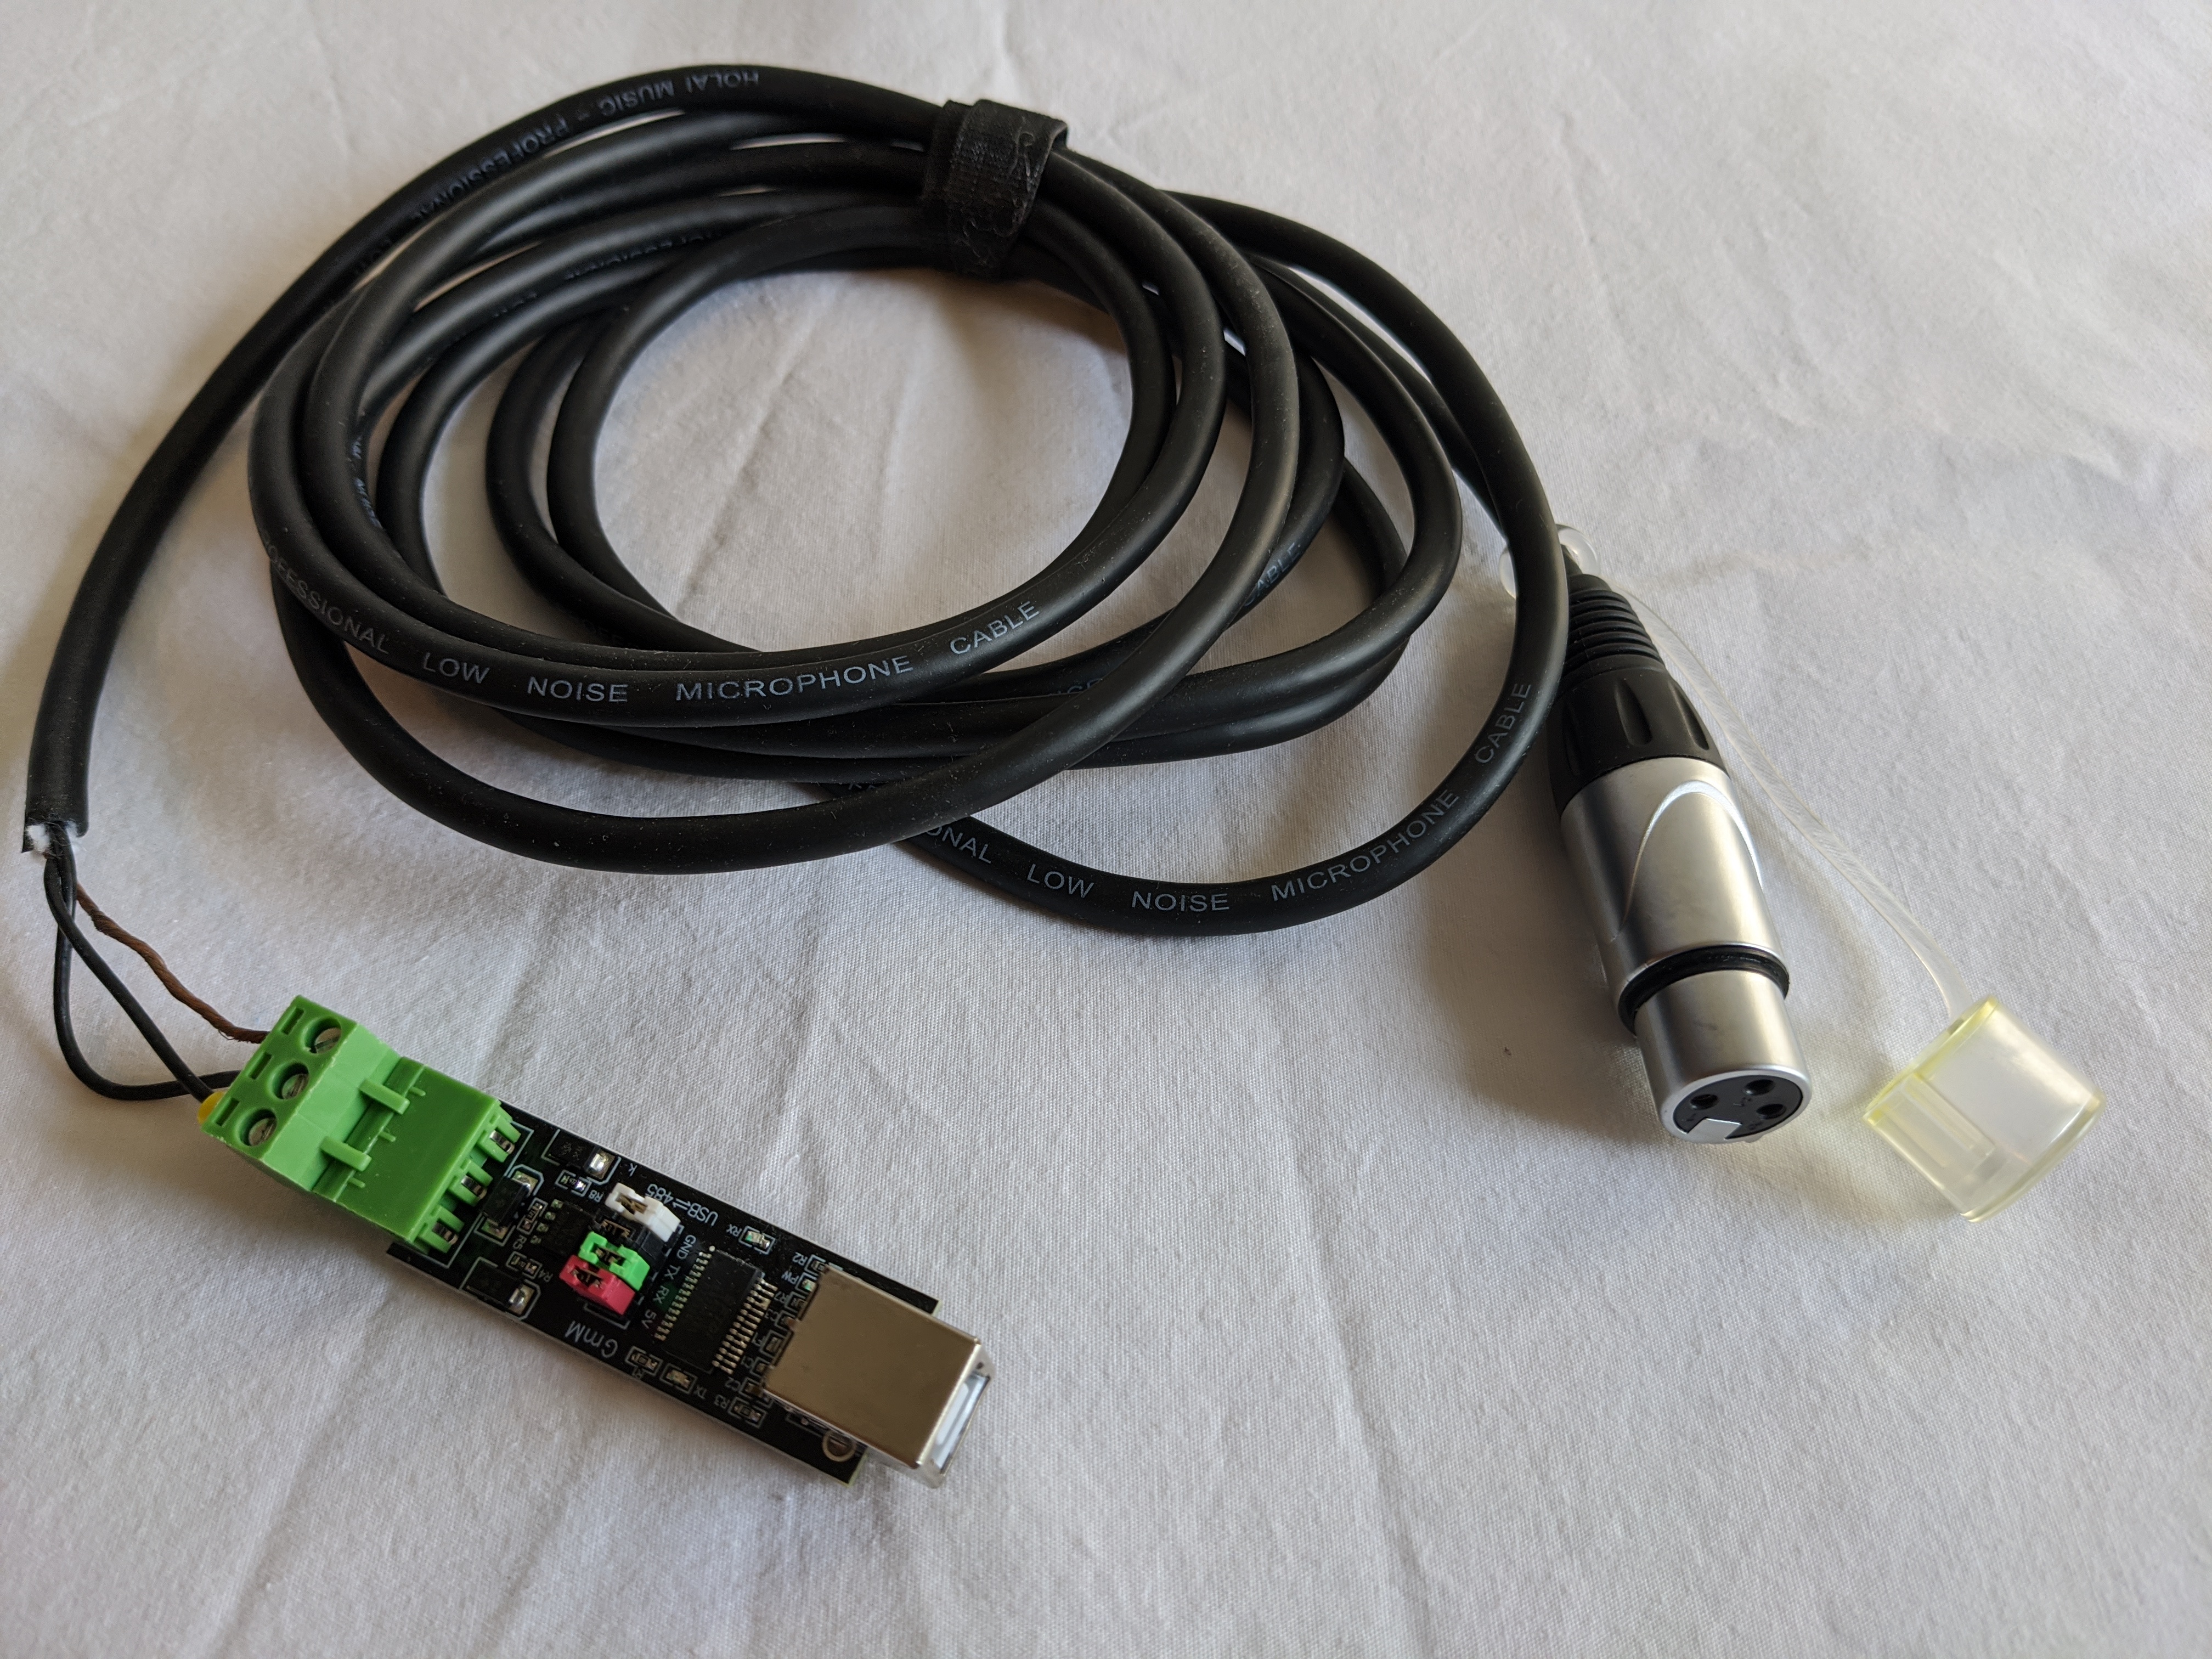
DMX Control
A USB to DMX interface allows control of theatrical lighting fixtures.